Instagram scheduling was once only available through social scheduling software that sent push notifications to your phone and required you to then post the content yourself. Everyone (including us!) wanted to have truly automated and fully scheduled Instagram posts.
We now have that option because of Instagram releasing its API last year. Brands and marketers using Agorapulse can now set-it-and-forget-it. They can schedule Instagram posts via the dashboard, so the posts will be published seamlessly. No pesky notifications interrupting the day!
But then—people started wanting those push notifications back.
Not only did some marketers like the publications to get a reminder when their content went live, those marketers also missed having that extra control to make last-minute edits in app.
Fortunately, Agorapulse users have both options:
- Schedule content to be published without any more work on your part.
- Use the push notification system to take a more hands-on approach in publishing.
Choose which approach you’d like to use on an individual, per-post basis. Push notifications, after all, can have distinct advantages directly tied to a more hands-on approach in social media scheduling.
Let’s look at the new feature and how to use it.
Benefits of Scheduling with Push Notifications on Instagram
First, let’s take a look at advantages to the push notification system and how it gives you a little extra customization flexibility.
1. You Get to Use Instagram’s In-App Editing
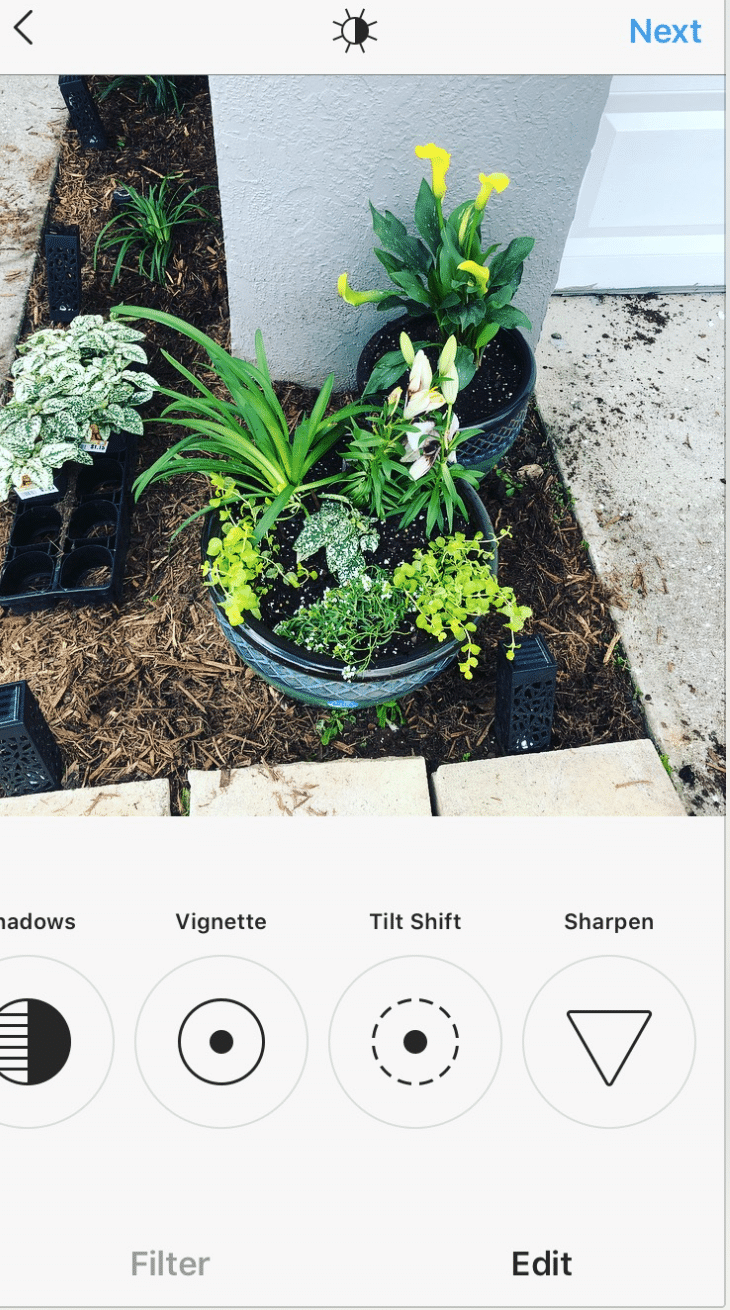
Want to use Instagram’s actual filters to modify an image? Some brands prefer doing this instead of going through the hassle of using complicated design software to get the same effect before uploading the image into our scheduling system.
Instagram’s editing tools let you:
- Apply color- and mood-altering filters.
- Adjust brightness, contrast, saturation, and warmth.
- Fade an image or sharpen it.
- Add shadows or highlights over an image to make it more dramatic.
Save yourself a step (and the money spent on design software) and just do your edits in-app. Doing so is free, fast, and easy.
2. You Care About Image Cropping
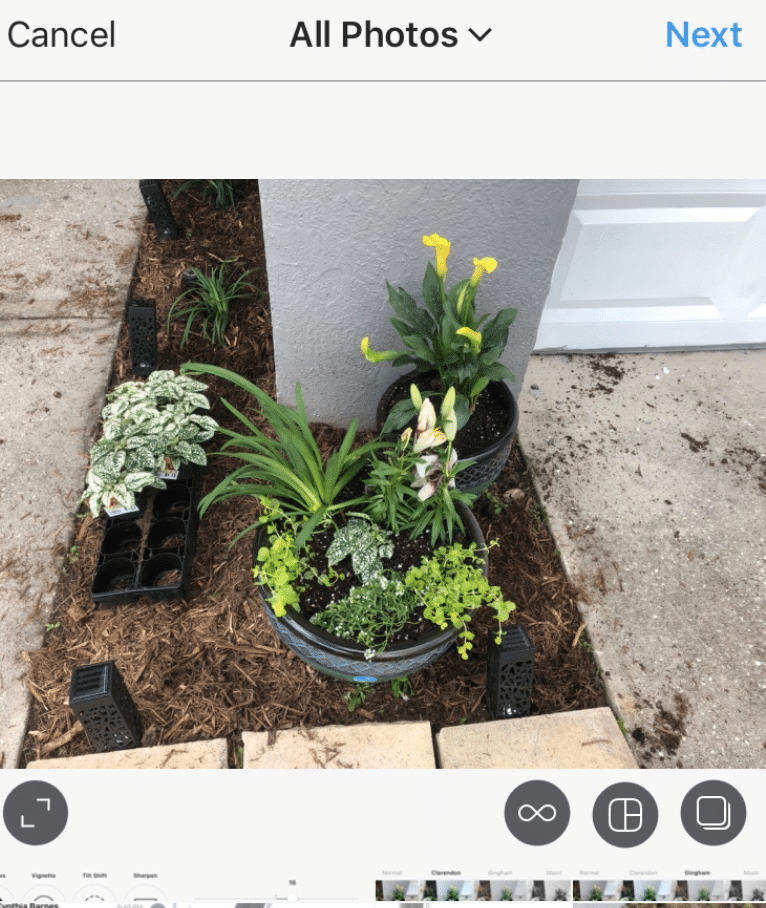
Want your image cropped just right? Scheduling through push notifications is the right choice. You can’t switch from landscape to portrait, or zoom in on the image to crop out what you don’t want. (At least, not without third-party tools or being in-app.)
3. You Want to Publish Stories
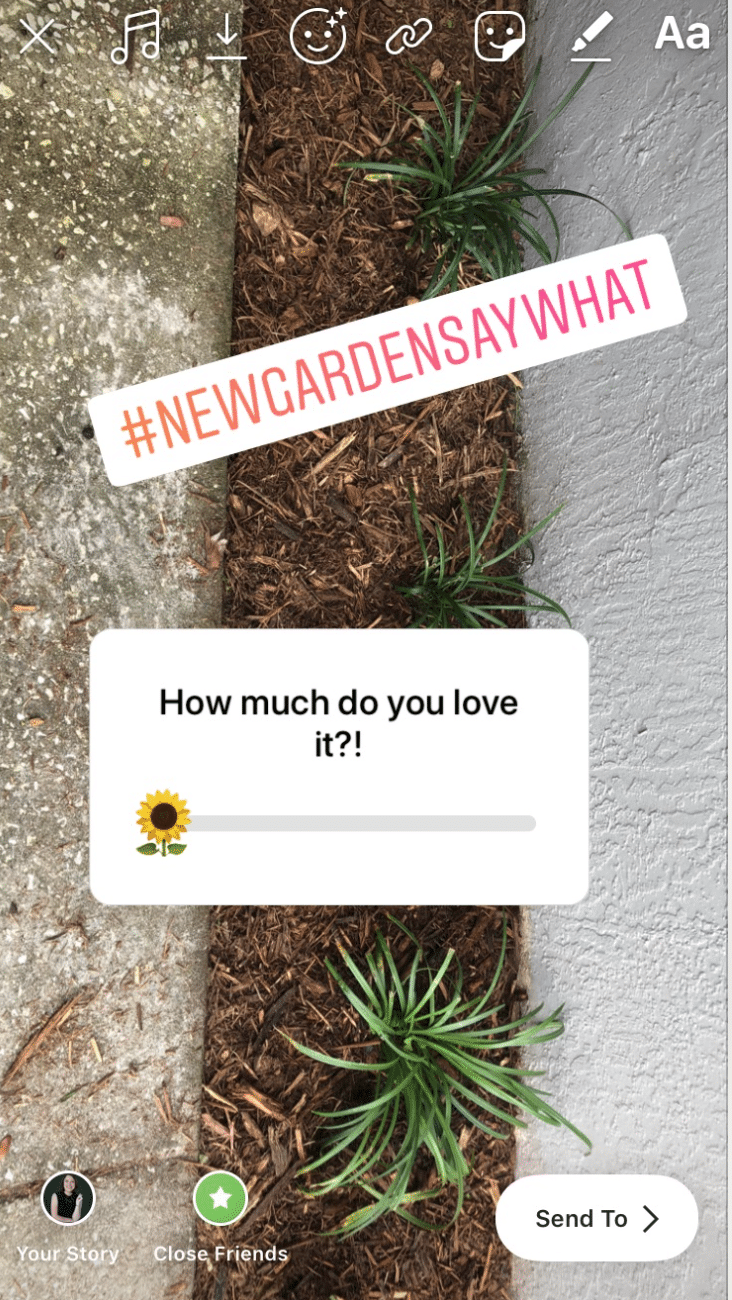
Stories are best served well-edited, coming laden with emojis and plenty of stickers added. That can only happen within Instagram’s actual creation process.
Push notifications will send the image or video of your choice to the team member who needs to edit it for your Instagram account. This will keep you on track without sacrificing any of the potential benefits.
4. You Like Going Over the Post with a Fine-Tooth Comb
I always recommend double, triple, and then quadruple checking your social media posts before they go out.
You can (and should) check your posts and their captions carefully when creating and reviewing them. I’ve always found it helpful to review the content again with the push notification publication option.
Something about seeing your post there in a different format can help you to catch everything from grammatical errors to missing information to downright mistakes. Consider the push notifications for some posts, especially if they’re long.
5. Instagram Carousels!
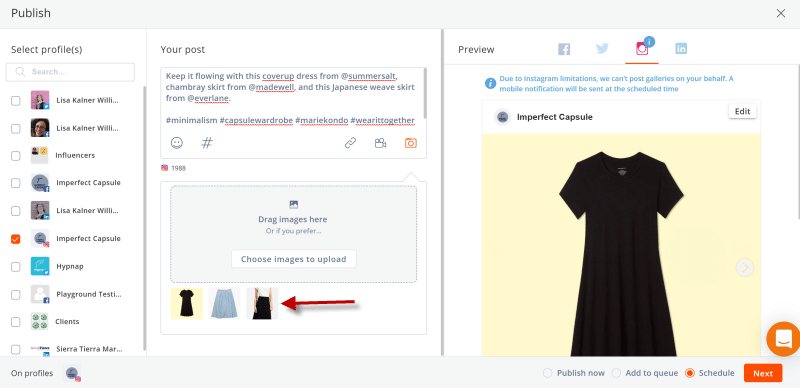
Push notification scheduling is available for both single-image and multiple-image feed posts. However, publishing multiple images in an Instagram post is only possible using push notification using the mobile app. (Get our easy-peasy instructions to guide you!)
Steps for Scheduling Instagram Push Notifications in Agorapulse
If you want the content to be published without further interruption, you can go through the creation process as you normally would and opt for direct publishing.
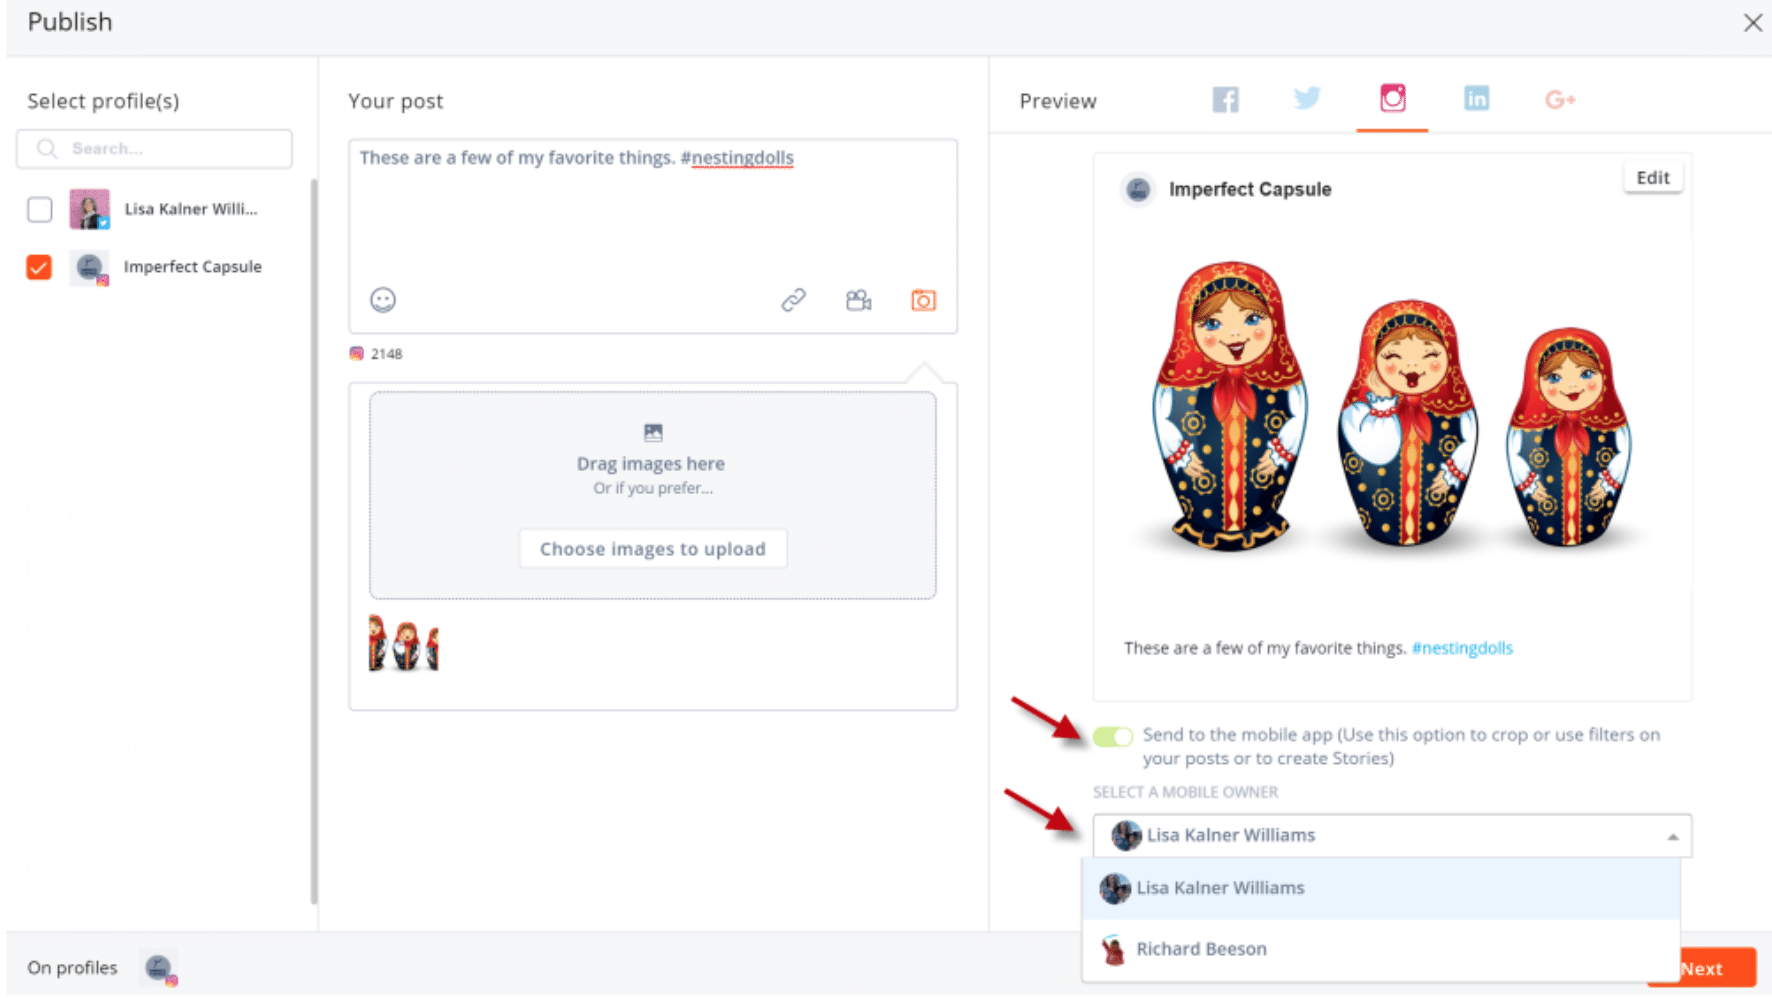
If you want to enable push notification scheduling, you can choose to “Send to the mobile app” when creating your post, and then choose the mobile owner (i.e., the team member) you want to receive the notification.
You can take your pick on each post, so make sure it’s the right choice. Once a notification has been sent, it’s not possible to disable the push notification setting. You either have to go through the manual process or create a new post for a new time and ensure it’s not set to be sent to your mobile app.
* * *
Some marketers will greatly prefer automated scheduling, while others will steadfastly refuse to use anything but the push notification system for optimum control. We recommend that for the best success with social scheduling on Instagram to take each post and consider it on a case-by-case basis.
If you’ll want to crop an image, edit it in Instagram, or publish Story posts, take the extra steps and use the push notifications.
If you want to streamline things a bit or use either multiple image posts or video posts, you should stick to the automated publication.
Social media marketing is almost never one-size-fits-all. We’ve taken this to heart to ensure that each marketer has the most flexibility possible in regards to scheduling content how and when they choose.
It’s up to you to figure out what that looks like for you.
