If you’ve read the news that you need to create video for your business and you’ve recorded a few things that will resonate with your audience, you might be at the “Now What?” phase.
Welcome. You’re now at the point that you should invest time — and in some cases, money — in third party tools that turn your videos into videos that produce results. In an effort to not overwhelm you with video production mumbo jumbo, I’ve consulted my 10-year-old, in-house vlogger for four simple YouTube tools to try out.
If this primary school student taught herself how to use these tools, you can too.
Tool 1: KineMaster
For: Making your videos look like you know how to make videos
Price: Free
Ease of use: (1 is the hardest/ 10 is the easiest): 10
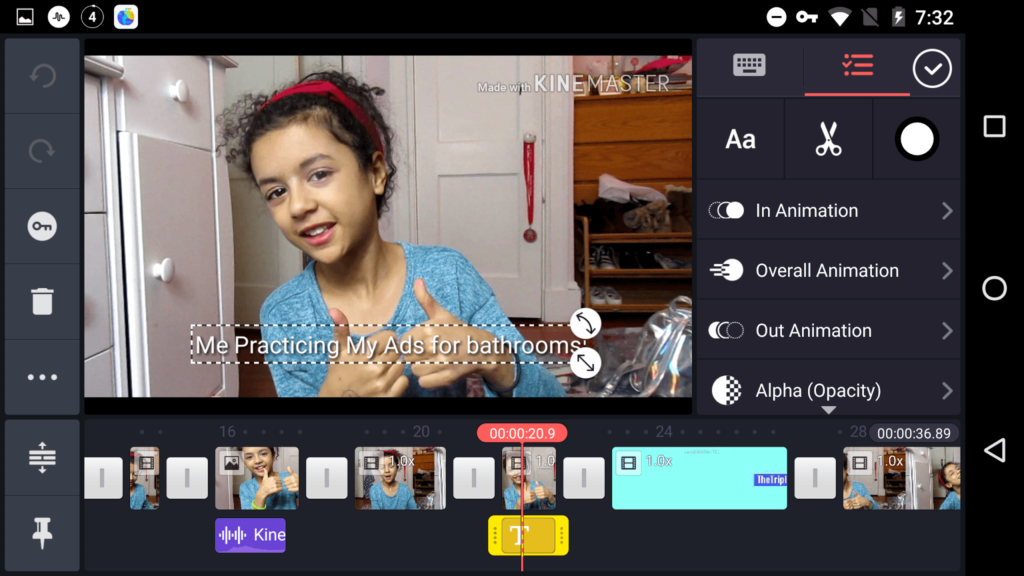
If you’re into adding layers to your video, Kinemaster should be your go-to tool. It supports audio tracks (and offers a bunch of its own), chroma key/green screens (yes, we have a green screen in the house), stickers and effects. It also offers great options to split and trim your videos.
And you can do all this from your mobile device! It’s available for both iOS and Android.
Tool 2: Cute Cut
For: Custom animations
Price: Free
Ease of use: 8
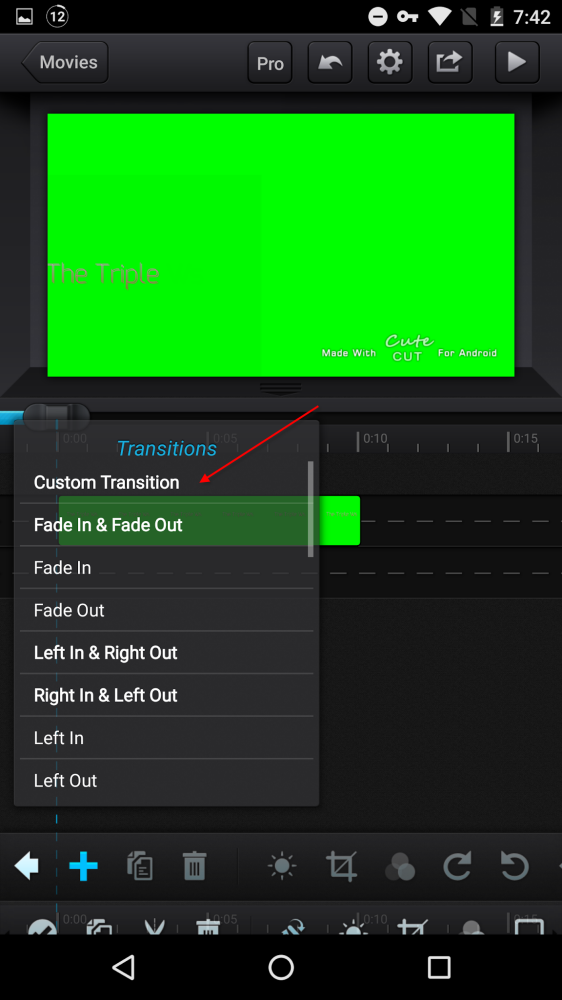
My budding YouTuber likes to take her animations up a notch from what Kinemaster provides. This is when she turns to Cute Cut — which is different from Cute(no space)Cut on your friendly app store. I learned that the hard way and got put in the Mom Doghouse for a hot second.
Called “transitions” here, you’re able to layer moving text and images on top of your existing videos. Nice for adding reminders or parenthetical remarks to what folks are seeing in your videos.
Like Kinemaster, this app is available for iOS and Android.
Tool 3: TubeBuddy
For: Optimizing videos for maximum views
Price: $9/mo
Ease of use: 9
Once you’ve produced the video to the best of your ability, you most likely want to “get the video out there” or, gasp, “go viral.”
TubeBuddy is designed to help you here.
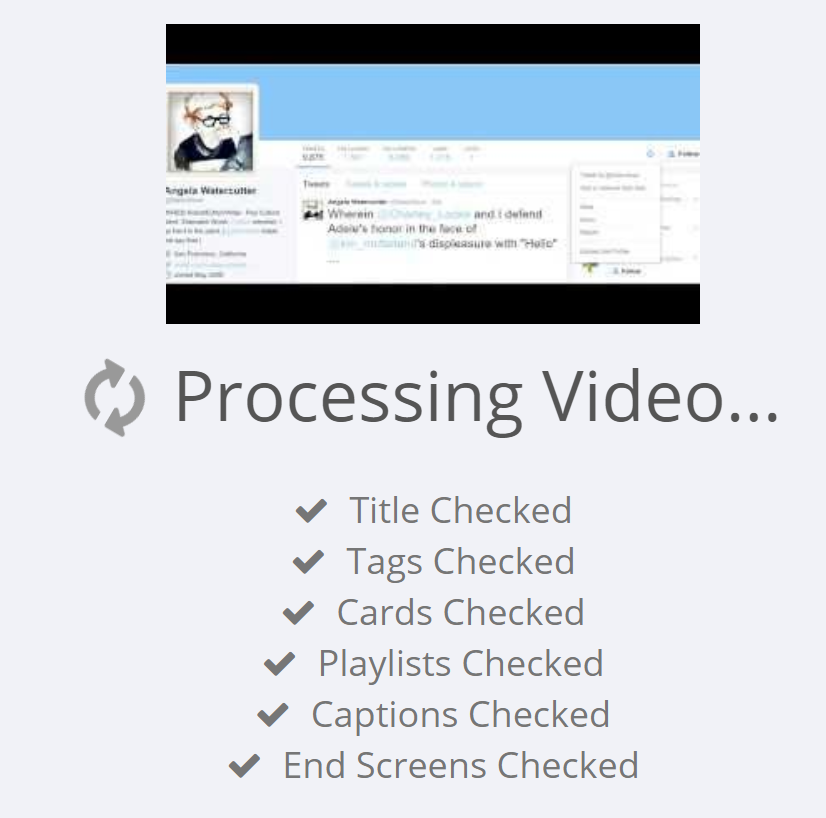
I got this one for my daughter thanks to an amazing AppSumo deal. It is an all-in-one tool to optimize your video for YouTube success. You can get content ideas from its competitors’ grid, suggested tags, and keyword research. Its diagnostic tool examines your videos to see you’ve prepared them for optimal views and engagement.

TubeBuddy makes sure you have all the essentials for a successful video.
It also has great checklists to keep YouTube content creators of all ages organized and producing videos on a regular basis.
For a lower price point, my daughter recommends the Chrome extension VidIQ which offers most of TubeBuddy functionality but for zero cash money.
Unlike the first two tools I’ve mentioned, TubeBuddy is desktop only (but has a handy Chrome extension).
Tool 4: Agorapulse
For: Keeping track of comments on your videos
Price: Starts at $49/month
Ease of use: 10
So now you’ve produced your video and dotted the Is and crossed the SEO Ts. At this point, let’s assume that folks are watching your video and commenting on how they love your content.
To manage the comments as they come in, you’ll need something like Agorapulse. It will save you from going through all your YouTube notifications one-by-one. With Agorapulse, you’ll get them in one column. When you click on a comment, you’ll see which video they’re commenting on.

All the comments are listed in the order you receive. You can then reply to, hide, or assign the comment to someone on your team.
Keep in mind it *is* YouTube, so get ready for people to comment when they don’t like your video. When that happens, you can use Agorapulse to hide the comment or assign it to a team member who might be better prepared (or have a stronger backbone) to reply.
In our house, this is where Mom steps in. In your case, it might be your agency’s client or your business’ communications manager or support person.
The cost is considerably more expensive than the other tools on the list but also includes YouTube user management, in addition to social media management functions for Facebook, Twitter, Instagram, LinkedIn, and Google+. If you’re looking for a simple solution that goes beyond just YouTube, this is worth checking out.
What simple YouTube tools do you use to make your videos successful? Let us know in the comments.


