To split test your Facebook ad creative you had to create two or more ads in the same campaign to see which one was more effective. However, the ad platform pushed reach onto the ad that performed best so you didn’t have a statistically fair test– until now.
By using the new split testing feature you can finally discover which ad image, video, copy, or format delivers the best results.
Wave goodbye to unfair tests and say hello to statistical significance!
How to Enable the Split Test Feature
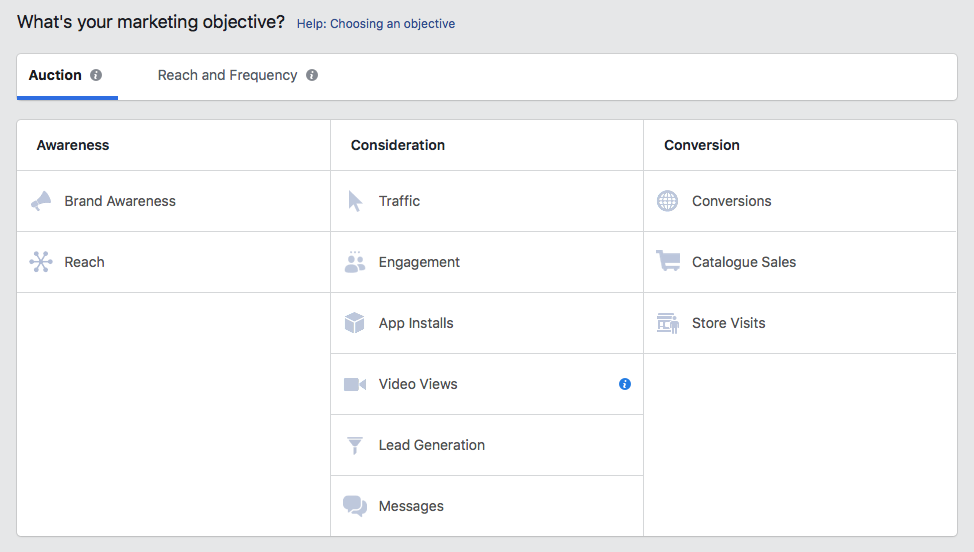
Ready to split test your Facebook ad creative? To get started, select the split test checkbox at the campaign level when you choose your objective.
You can create split tests using all the campaign objectives except “Brand Awareness” and “Store Visits”. The split test feature can be used to test audiences, placements, and bidding optimizations, as well as ad creatives.
Creating Your Campaign
Click the green “Create” button in your “Ads Manager” dashboard. The first time you split test your Facebook ad creative use the “Guided Creation” flow instead of the “Quick Creation” flow.
To show you how the test works properly, I’ll walk you through an example.
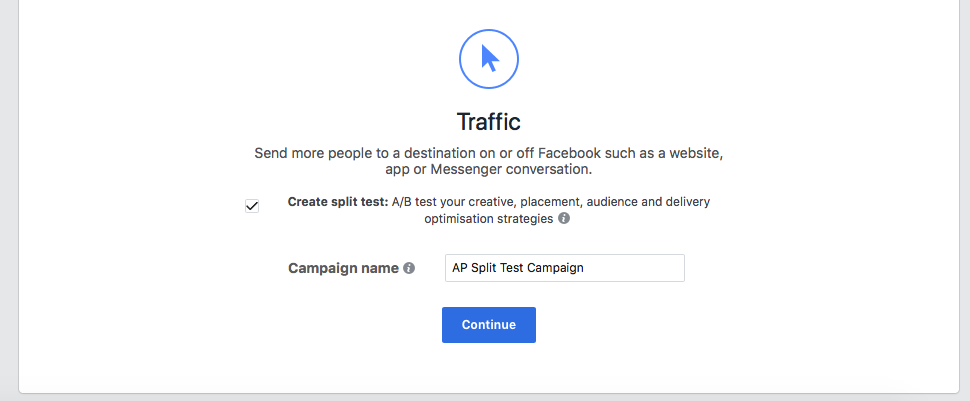
Let’s say we want to test the effectiveness of two different ad formats. We decided to use the “Traffic” objective, target people who’ve watched our video content and drive them to our site. To do that, we’ll use an incentive that works for the audience. If you’re an eCommerce company, you could offer a product discount for this type of campaign. Service businesses can use a free consultation or webinar offer.
After you’ve picked the objective, tick the split test check box.
Creating Your Ad Set
Once your objective is set up, move onto the Ad Set level and select “Creative” from the “Variable” section. This will create two ad options, Ad A and Ad B, enabling us to create the two ad variations that form the basis of the split test.
Want to test more than two variations at the same time? You can add up to 5 different ads in a single split test by clicking on “Test Another Ad”.
Complete the rest of your Ad Set by choosing your audience, placements, bidding optimization, test budget, and schedule.
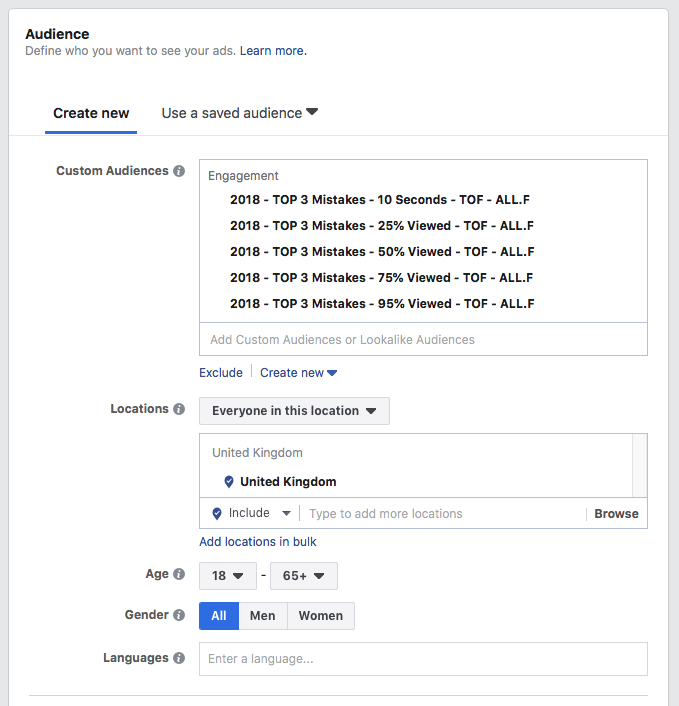
In our example, we targeted people who watched our video content so in the audience section, we’ll pick the Video custom audiences we created.
When it comes to selling products or services on Facebook, targeting people who’ve engaged with your business is demonstrably more effective than showing your ads to cold audiences.
If you don’t have “Video custom audiences” to target, you could use other custom audiences such as “Page engagement” and “Website traffic”. (Not sure how to create these audiences? We’ve got you covered.)
If you don’t have custom audiences, target tepid audiences such as “Saved audiences” and “Lookalike audiences”.
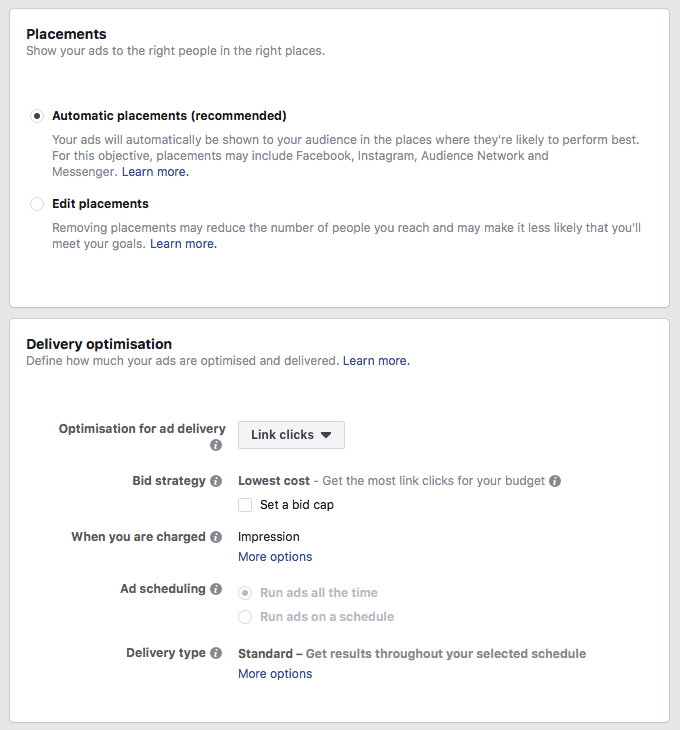
Next, choose your placements, delivery and optimization settings. Start with the default “Automatic placements” and optimize for “Link clicks”. If your site is on the slow side, optimize for “Landing Page Views” instead.
Finally, set your budget and test schedule. You can run a test from 3 to 14 days. Once you’ve completed the Ad Set sections, click Continue to move to the Ad level.
Creating Your Ads
Time to create the ad variations you want to test. Continuing to follow the example above, we want to test the effectiveness of two different ad formats, carousel versus single image.
Name Ad A as “Carousel” and select your Facebook Page and Instagram Page in the “Identify” section.
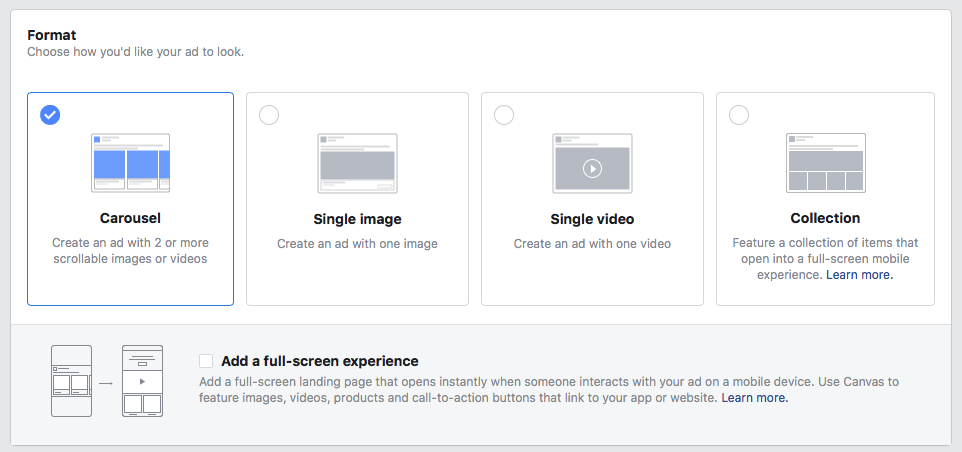
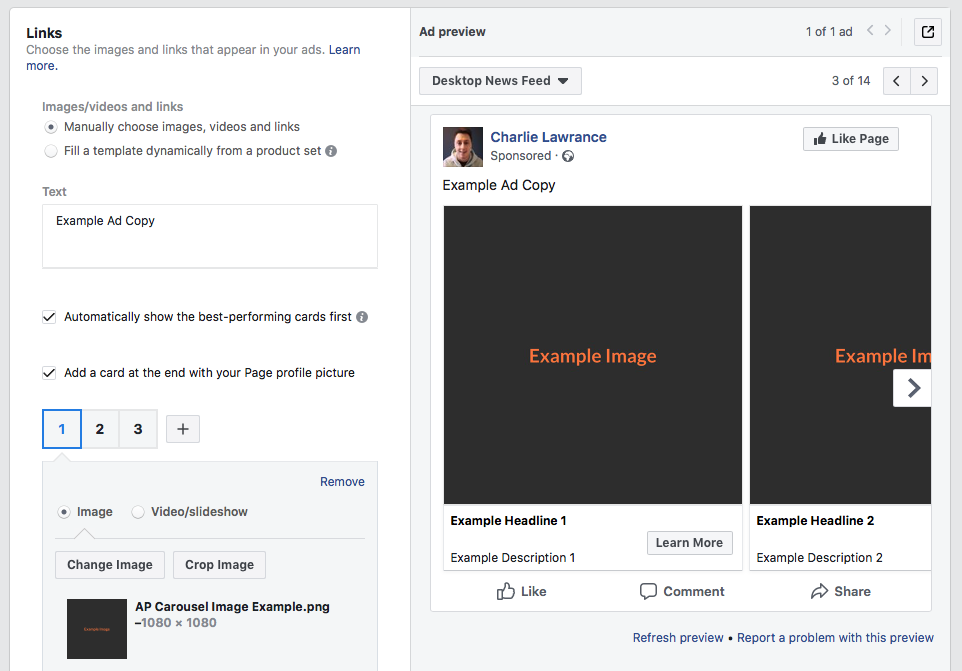
Next, choose the Carousel format and complete the rest of your ad creation. This includes adding your ad copy, carousel card information such as image, headline, link, and description as well as a call to action button. Don’t forget to enable conversion tracking– it’s at the bottom of the screen.
If you are an eCommerce company you could create an ad designed to attract new customers by offering a discount on your most popular product. The copy could feature the discount code and share the key benefits of using your product.
The carousel cards can feature different images of the product and link to your product page. With this type of ad, use the Shop Now CTA because it’s the most relevant one for a sales based ad.
Move onto Ad B by clicking on “Continue to Ad B” in the bottom right of the creation flow.
Facebook will auto-fill Ad B with the same details as Ad A. You need to change some of the details to run the test. In this case, we are changing the ad format itself.
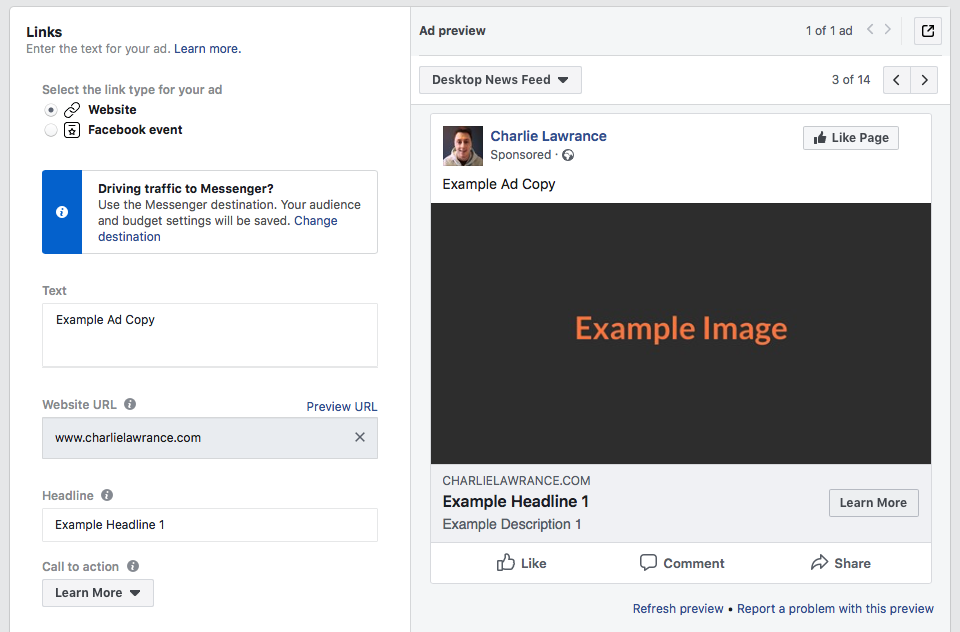
To run the same test, select “Single Image” from the format section and add the same image you used in your first carousel card. Next, add the copy, the link, the headline, and the CTA– all should match your carousel card.
Make sure your conversion tracking and Facebook pixel are on, then click “Confirm” and review your campaign. You are all set to split test your ad!
Ad Creative Test Ideas
Testing two different ad formats is just one way you can use the creative split test feature. You can also test:
- Ad copy variations. Why not test benefit-driven copy against testimonial copy?
- Headlines. Feature headline vs benefit headline– let the battle commence!
- Call to action buttons. Test a direct CTA like “shop now” against a Call to Value (CTV).
- Images using the single image ad format. Test product images versus lifestyle images to discover which resonate with your audience.
- Images against video creative. Pitch single image against single video formats.
- Image-based carousels ads against video based carousel ads.
- Video ads against each other using the single video format.
Conclusion
The split test feature allows you to independently test different creative variables with no audience overlap and make the most of your Facebook ads.
Trying out different ad formats is just one of the many ad creative split tests you can run to determine which ads resonate with your target audience and deliver the best results for your business. (You can dig deeper into the Facebook Ad analytics through the free tool AdsReports.)
